
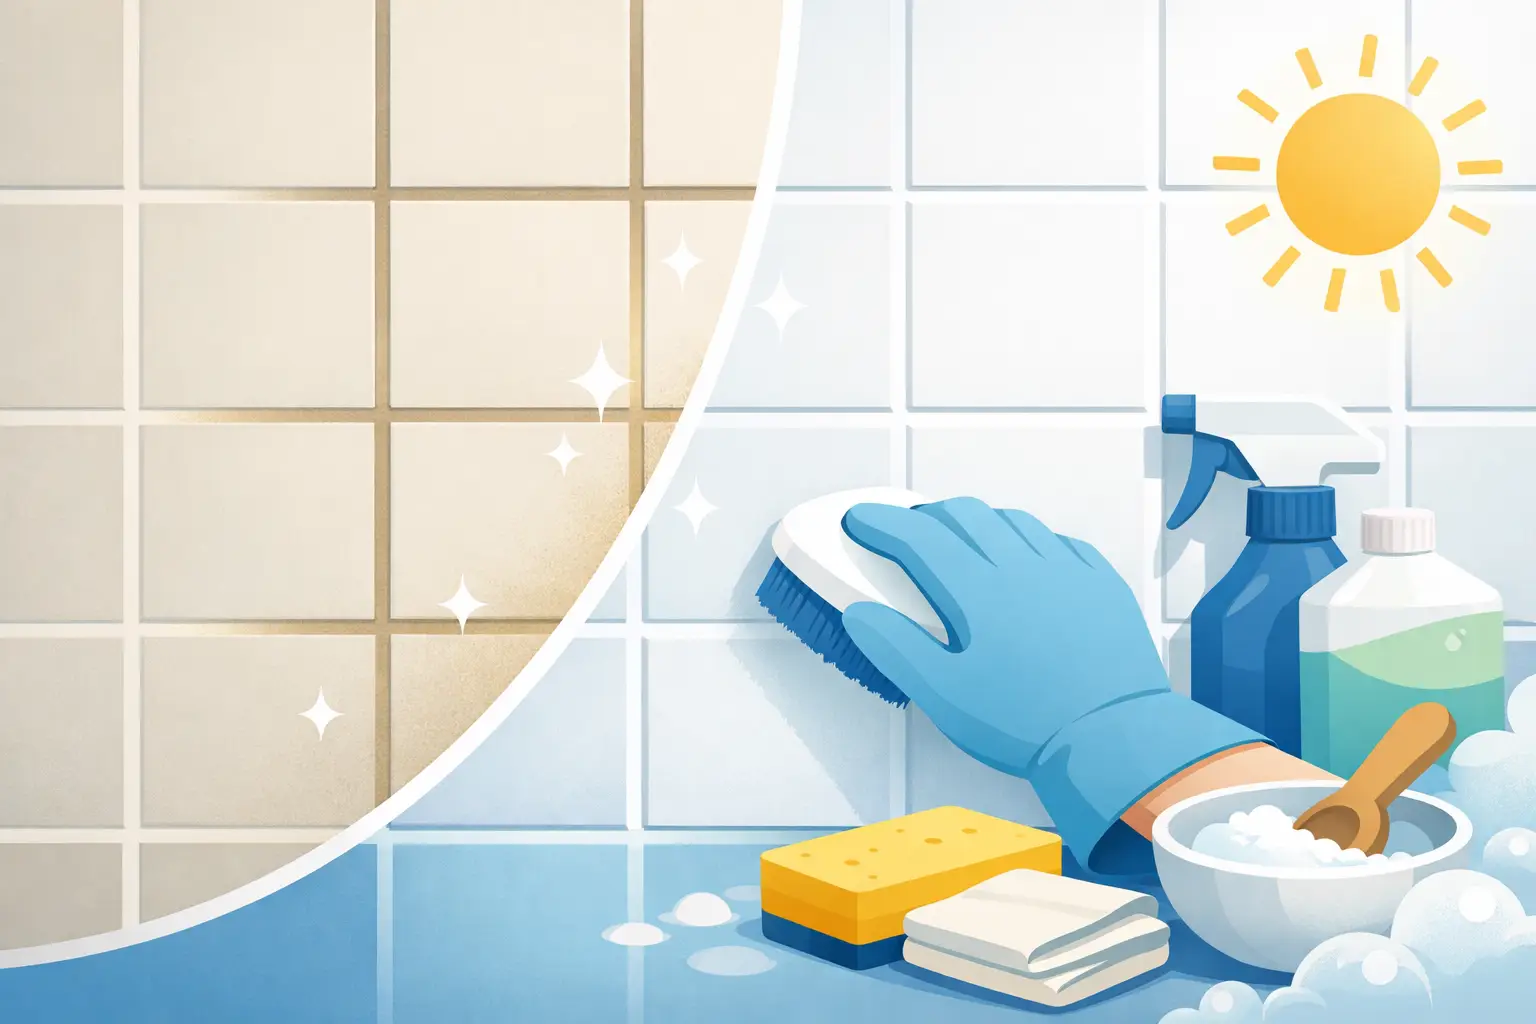
Learn how to brighten yellowed grout with safe cleaning steps, stain troubleshooting, and sealing advice for fresher tile floors and showers at home today.
A clean tile floor can still make a room feel tired when the grout has turned yellow. In South Florida homes and businesses, humidity, hard-water minerals, cooking residue, tracked-in dirt, and everyday cleaning products can all leave their mark. Learning how to brighten yellowed grout starts with identifying what caused the discoloration, then using a method strong enough to clean the grout without damaging the surrounding tile.
Yellow grout does not always mean it is permanently stained or needs to be replaced. Often, the color is sitting on the surface or trapped in the grout's pores. With the right approach, many kitchens, bathrooms, entryways, and shower walls can look noticeably fresher in one cleaning session.
Why grout turns yellow in the first place
Grout is more porous than tile, especially if it was never sealed or its sealer has worn away. That means it absorbs what tile tends to shed: mop water, soap residue, body oils, grease, mildew, pet traffic, and minerals from water. White or light gray grout makes this buildup especially obvious.
In bathrooms, yellowing may come from soap scum, moisture, old cleaner residue, or mildew beneath the surface. Around toilets, it can also be caused by urine splashes or improper cleaning products. In kitchens, grease and food residue are common culprits, even on floors that are mopped regularly.
Sometimes the yellow tone is not dirt at all. A failing topical sealer, waxy floor coating, or aging grout can yellow over time. This is why repeated scrubbing may not change the color much. The best solution depends on whether you are dealing with removable buildup, a deep-set stain, or a grout color that has changed permanently.
How to brighten yellowed grout safely
Before applying any cleaner, sweep or vacuum the area thoroughly. Grit and sand can scratch tile while you scrub. Then test your cleaning method in a small, low-visibility section first, particularly if you have natural stone, older tile, colored grout, or a glossy finish.
Start with a mild alkaline cleaner
For most ceramic or porcelain tile floors, begin with a pH-neutral tile cleaner or a grout-safe alkaline cleaner. These products help break down common oily soil and cleaner buildup without relying on harsh acids. Follow the label directions, allow the solution to sit for several minutes, and keep it from drying on the surface.
Scrub the grout lines with a stiff nylon grout brush. Work in small sections so you can see where you have cleaned and keep the solution active. A toothbrush may work in a pinch for a small spot, but it is slow and usually not firm enough for a whole room.
After scrubbing, rinse well with clean water and pick up the dirty water with towels, a wet vacuum, or a mop that is rinsed frequently. This step matters. If dirty cleaner water dries back into the grout, the floor may still look dull or yellow after all that work.
Use baking soda carefully for stubborn spots
A baking soda paste can help lift localized yellow stains on durable ceramic and porcelain tile. Mix baking soda with just enough water to make a spreadable paste, apply it to the grout, and let it sit for about 10 to 15 minutes. Scrub gently with a nylon brush, rinse, and dry the area.
This can be useful for a few problem spots, but it is not always practical for an entire floor. It also will not remove discoloration caused by old sealer, severe mineral deposits, or grout that has absorbed stains over many years.
Avoid using vinegar, lemon juice, or other acidic cleaners on cement-based grout, marble, travertine, limestone, terrazzo, and other natural stone. Acid can etch stone, weaken grout, and leave a dull finish that creates a more expensive restoration problem than the original yellowing.
Treat mildew and bathroom staining with care
If the yellowing is paired with dark spotting, a musty smell, or buildup around shower corners, moisture may be part of the problem. Ventilate the room, clean with a grout-safe mildew remover, and rinse thoroughly. Never mix bleach with ammonia, vinegar, acidic products, or other cleaners. Those combinations can create dangerous fumes.
Chlorine bleach may lighten some stains, but it is not a cure-all. Overuse can weaken grout and may cause uneven color, especially on older installations. It can also leave strong fumes in a closed bathroom. If you choose a bleach-based product, use it only as directed, wear gloves, provide good ventilation, and use it sparingly.
The cleaning mistakes that keep grout looking yellow
A common mistake is using too much floor cleaner. Extra soap does not make tile cleaner. It leaves residue behind, and that residue attracts more dirt. If your tile feels sticky after mopping or looks cloudy once dry, cleaner buildup may be part of the issue.
Another problem is mopping with dirty water. A mop can move grime from one grout line to the next, especially in high-traffic halls, kitchens, and commercial entryways. Change the water often, use a clean microfiber pad, and avoid soaking the grout with excessive water.
Steam can be helpful on some tile and grout, but it depends on the surface and installation. It should be avoided on loose tile, damaged grout, some sealed surfaces, and areas where moisture could enter beneath the tile. Heat and pressure are not automatically safer simply because they are chemical-free.
When yellow grout needs professional cleaning
DIY cleaning is a good first step when the grout is lightly soiled and the tile is in good condition. Professional service is often the better choice when grout remains yellow after cleaning, when the floor has years of buildup, or when a large area needs attention. This is especially true for rental turnovers, hotel bathrooms, restaurant floors, and busy family homes where the tile has taken daily wear.
Professional tile and grout cleaning uses specialized solutions, agitation, and high-powered extraction to pull loosened soil out of the grout rather than leaving it behind. The process can remove deep grime more evenly than hand scrubbing and is much faster for larger rooms.
At First Choice Floor Care, the work begins with an inspection of the tile, grout condition, and type of staining. After deep cleaning, sealing may be recommended to help protect porous grout from future spills, moisture, and dirt. Sealing is not a promise that grout will never stain again, but it gives you more time to wipe up messes before they settle in.
If the grout is structurally sound but still has permanent discoloration, grout color sealing can be an option. This process applies a durable colorant that evens out the appearance of the grout while adding protection. It is often far less disruptive and less costly than removing tile just because the lines look worn.
Keep bright grout from turning yellow again
Once the grout looks clean, simple maintenance makes a real difference. Wipe shower walls after use when possible, especially in humid bathrooms. Use a pH-neutral cleaner for routine floor care, and do not let spills sit on unsealed grout. Kitchen grease, coffee, pet accidents, and hair products are easier to remove right away than after they have dried into the pores.
For tile floors, sweep regularly so gritty dirt does not get ground into the grout. Use modest amounts of cleaner, rinse mop pads well, and change cleaning water when it starts looking gray. In commercial spaces, place mats at entrances and schedule periodic deep cleaning before the grout becomes heavily stained.
A yellowed grout line can make an otherwise clean room feel neglected, but it is often a fixable problem. Give the surface the right kind of care now, and your tile can look brighter, cleaner, and more welcoming every time you walk into the room.
Unsure what your surface needs?
A clear assessment is more useful than guessing. Tell us what you’re seeing and we’ll discuss the next step.
Request an Estimate