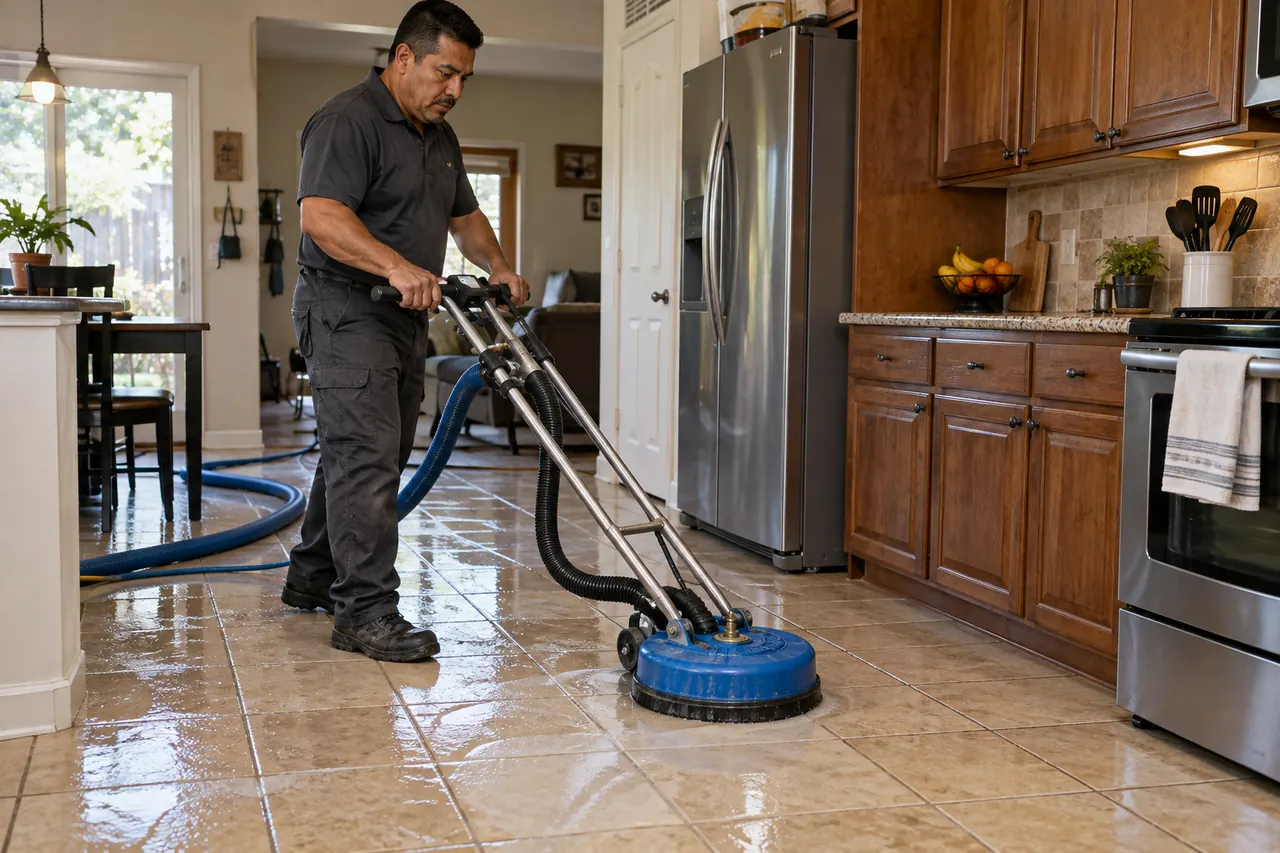
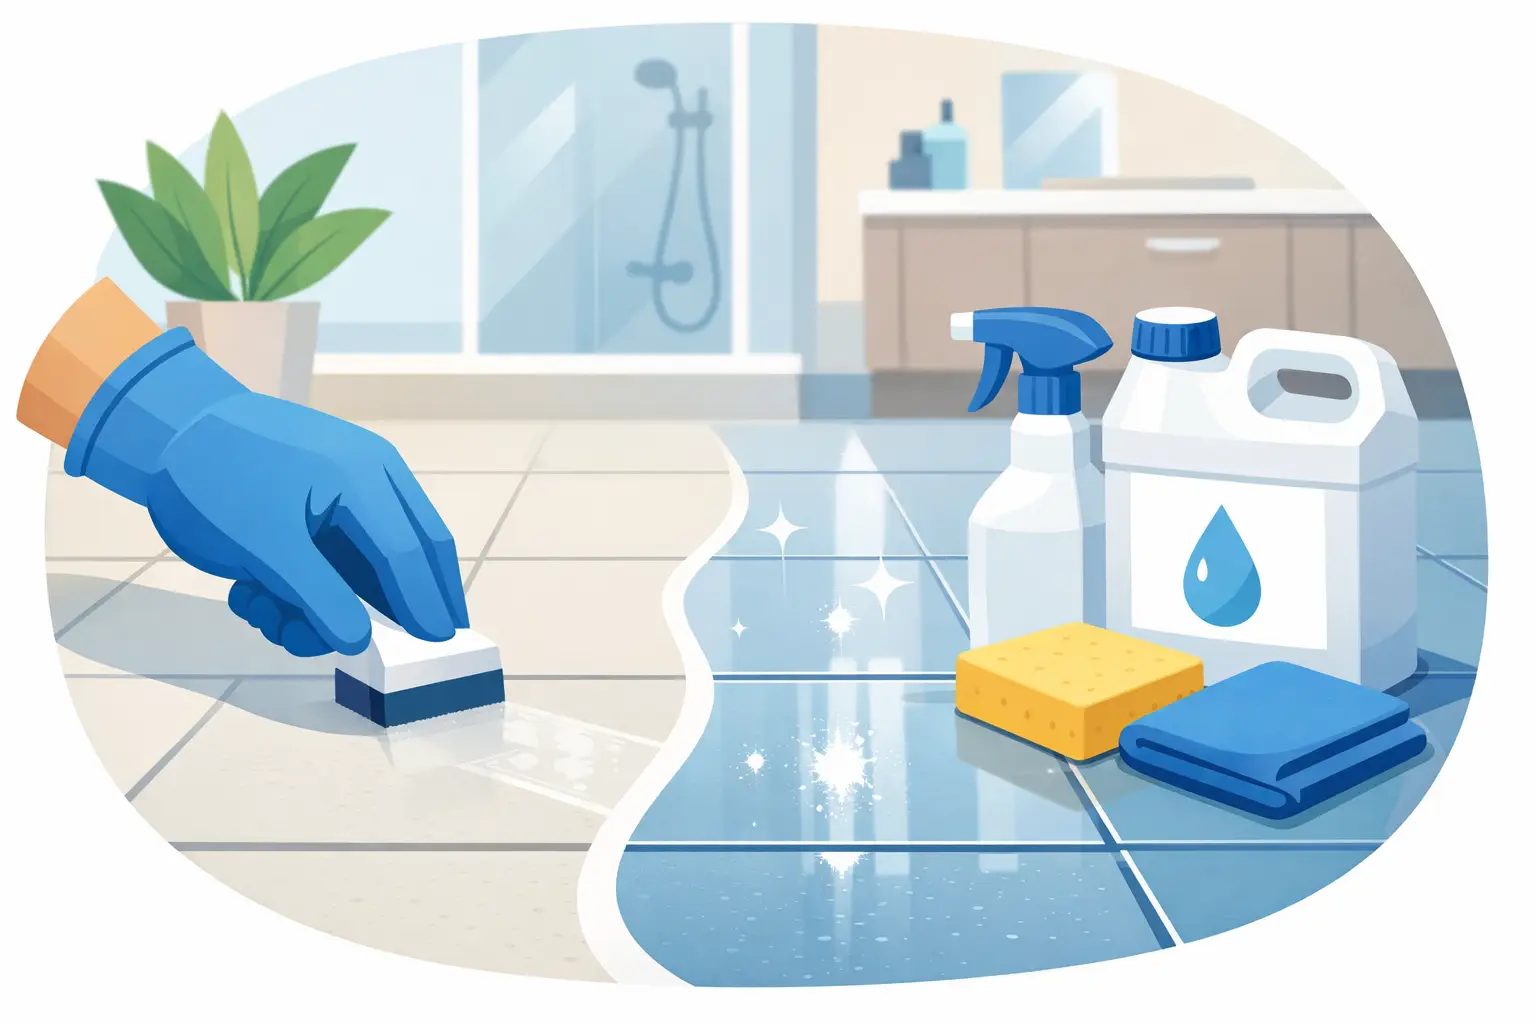
Learn how to seal tile after cleaning with the right prep, sealer, and drying time. Protect grout and keep South Florida floors looking fresher longer.
A tile floor can look dramatically better after a deep cleaning, especially when dark grout lines finally return to their original color. But cleaning alone does not keep everyday spills, pet traffic, shower moisture, and tracked-in dirt from working their way back into porous grout. Knowing how to seal tile after cleaning helps protect the fresh results and makes regular upkeep much easier.
For many South Florida homes and businesses, sealing is the step that keeps a restored floor, kitchen backsplash, or shower from looking worn again too soon. The key is not rushing it. Tile and grout must be fully clean, dry, and matched with the right type of sealer before protection can do its job.
Start by Identifying What Needs Sealing
Not every tile surface should be treated the same way. In most cases, the grout is the material that needs protection most. Cement-based grout is naturally porous, which means it can absorb water, cooking oils, soap residue, spills, and dirt. A penetrating grout sealer fills that vulnerability without leaving a heavy coating on the surface.
Glazed ceramic and porcelain tile are often nonporous, so they usually do not need to be sealed. Sealer applied over glazed tile may leave a hazy film or make the floor look streaky if it is not wiped away completely. Unglazed porcelain, quarry tile, terracotta, and other porous tile can benefit from sealing, but the product must be suitable for that specific material.
Natural stone requires extra care. Marble, travertine, limestone, slate, and terrazzo can be sensitive to acidic cleaners and some topical coatings. These materials often need a breathable, penetrating stone sealer rather than a generic tile product. If a marble floor is dull, etched, or scratched, polishing may be needed before sealing. Sealer protects against absorption, but it will not repair damage or restore shine on its own.
Wait Until the Surface Is Truly Dry
The most common mistake after tile cleaning is applying sealer while moisture is still trapped in the grout. A floor may feel dry underfoot while the grout joints remain damp below the surface. When that happens, sealer may not absorb evenly, and cloudy spots or weak protection can follow.
After routine cleaning, allow at least 24 hours of drying time before sealing. After a deep steam cleaning, extraction service, or heavy shower cleaning, 24 to 48 hours is often safer. Humid weather, limited air movement, thick grout joints, and shaded rooms can extend drying time.
Keep windows open when weather allows, run the air conditioning, or use fans to improve circulation. In bathrooms, leave the exhaust fan running and avoid showers during the drying period. A clean, dry surface gives the sealer the best chance to penetrate and last.
Choose the Right Sealer for the Job
For most residential and commercial grout, a water-based penetrating or impregnating sealer is a practical choice. It absorbs into porous grout and forms a barrier below the surface, helping water and stains bead up instead of soaking in. These sealers typically keep the natural look of the grout and are a good fit for kitchens, bathrooms, entryways, and busy common areas.
Color-enhancing sealers are another option for certain natural stone or unglazed tile. They can deepen the color and create a richer appearance, but they are not the right choice for every surface. Always test a small, hidden area first. Once a color-enhancing product is applied, the change may be difficult or impossible to reverse.
Avoid using a glossy topical sealer on floors unless the product is specifically made for that use and the manufacturer confirms it is slip-resistant. A shiny coating can look appealing at first, but it may wear unevenly in traffic lanes, trap dirt, or become slippery when wet. In a family home, restaurant, lobby, or rental property, dependable protection and safe footing matter more than temporary shine.
How to Seal Tile After Cleaning Step by Step
Before starting, read the product label for the recommended application method, drying time, and safety instructions. Different sealers vary, and the manufacturer’s directions should always take priority.
Protect nearby surfaces and test first
Move rugs, furniture, and anything resting on the floor. If you are sealing a backsplash or shower, protect counters, fixtures, and painted surfaces with a clean towel or painter’s tape as needed. Then test the sealer in a small, out-of-the-way section.
The test tells you whether the grout absorbs the product evenly and whether the tile develops any haze. It is a simple precaution that can prevent a much larger cleanup job.
Apply a thin, even coat
Use an applicator bottle with a narrow wheel, a small brush, foam applicator, or microfiber cloth depending on the area. Apply the sealer directly to grout lines, keeping the coat thin and controlled. For porous tile or natural stone, spread the product evenly across manageable sections rather than flooding the surface.
Work in small areas you can wipe before the sealer begins to dry. In a shower, start near the top and work down. On a floor, work toward an exit so you do not step on freshly sealed grout.
Let it penetrate, then remove all excess
Most penetrating sealers need a short dwell time to soak in. This is often around three to 10 minutes, but follow the label. Once the time is up, wipe the tile and grout thoroughly with a clean, dry microfiber cloth.
Do not let excess sealer dry on the tile. This is especially important with porcelain and glazed ceramic, where leftover product can leave a dull, sticky, or cloudy residue. Change cloths as they become saturated so you are removing product rather than spreading it around.
Add a second coat only if needed
Very porous grout, older grout, terracotta, and some natural stone may need a second coat. Apply it after the first coat has penetrated according to the product directions. If the first coat is still sitting on the surface instead of absorbing, the material is likely sealed enough.
More sealer is not automatically better. Thick application can create residue and does not necessarily improve protection. The goal is even absorption, not a visible layer.
Allow proper cure time
Keep people, pets, and furniture off the area until the sealer has cured. Light foot traffic may be allowed after a few hours, while full curing can take 24 to 72 hours depending on the product, temperature, and humidity. Avoid mopping, spills, and shower use during that period whenever possible.
Check Whether the Sealer Is Working
Once the curing time has passed, test a small grout line with a few drops of water. If the water beads on the surface for several minutes, the sealer is doing its job. If it darkens the grout and absorbs quickly, that area may need another light coat.
This water test is useful once or twice a year, particularly in bathrooms, kitchens, and entryways. High-traffic commercial floors and rental properties may need more frequent checks because cleaning, foot traffic, and spills wear protection down faster.
Keep Sealed Tile Looking Fresh Longer
Sealing makes maintenance easier, but it does not make tile maintenance-free. Use a pH-neutral cleaner for regular mopping and wipe spills promptly. Harsh acidic products can damage grout and natural stone, while oily cleaners can leave a film that attracts dirt.
In showers, a quick squeegee after use reduces soap scum and moisture buildup. At entryways, mats help keep sand and grit from scratching floors and grinding into grout. These small habits make a noticeable difference in Fort Lauderdale homes, where humidity, rain, pool traffic, and daily outdoor living put extra pressure on interior surfaces.
Most grout should be resealed every one to three years, though the real answer depends on traffic, cleaning habits, and the type of sealer used. A lightly used guest bathroom may hold protection longer than a busy kitchen or a restaurant restroom.
When Professional Sealing Makes More Sense
DIY sealing is manageable on a small, recently cleaned tile area with sound grout. It becomes more complicated when grout is cracked, deeply stained, missing in places, or still showing discoloration after cleaning. The same is true for large commercial floors, textured tile, natural stone, and surfaces with old wax or failed coatings.
A professional service can inspect the material, deep clean it, correct issues that sealing cannot hide, and apply the appropriate protection without leaving residue behind. First Choice Floor Care helps homeowners and business owners protect clean tile, grout, marble, and terrazzo after restoration work, so the improvement lasts beyond the first good-looking day.
A properly sealed surface will not stop life from happening, but it gives spills and dirt less chance to settle in. Give the floor or shower the drying time it needs, use a sealer made for the material, and you will spend less time fighting stubborn buildup later.
Unsure what your surface needs?
A clear assessment is more useful than guessing. Tell us what you’re seeing and we’ll discuss the next step.
Request an Estimate